There are two phases to Sanctum – build and exterminate. As you’d expect, during the build phase you set up your defensive structures to help protect a central core. A few things make this phase stand out a bit more than most games. First, to build any defensive structure, you must first build a block. These are nothing more than large, well, blocks, though they do also *sigh* block your enemies’ path. These are useful in a number of ways. First, some maps have large open areas that enemies will charge straight through, so you must use your blocks to actually build the maze they will take. You cannot close off a path completely, because building tall walls to defend something of strategic importance would just be a dumb idea. Blocks are a very cheap item to build, coming in at only 2 credits. The problem with blocks is that, by themselves, don’t really do anything to kill the bizarre aliens that desperately want to get at the core. That’s where your towers and other special structures come in.
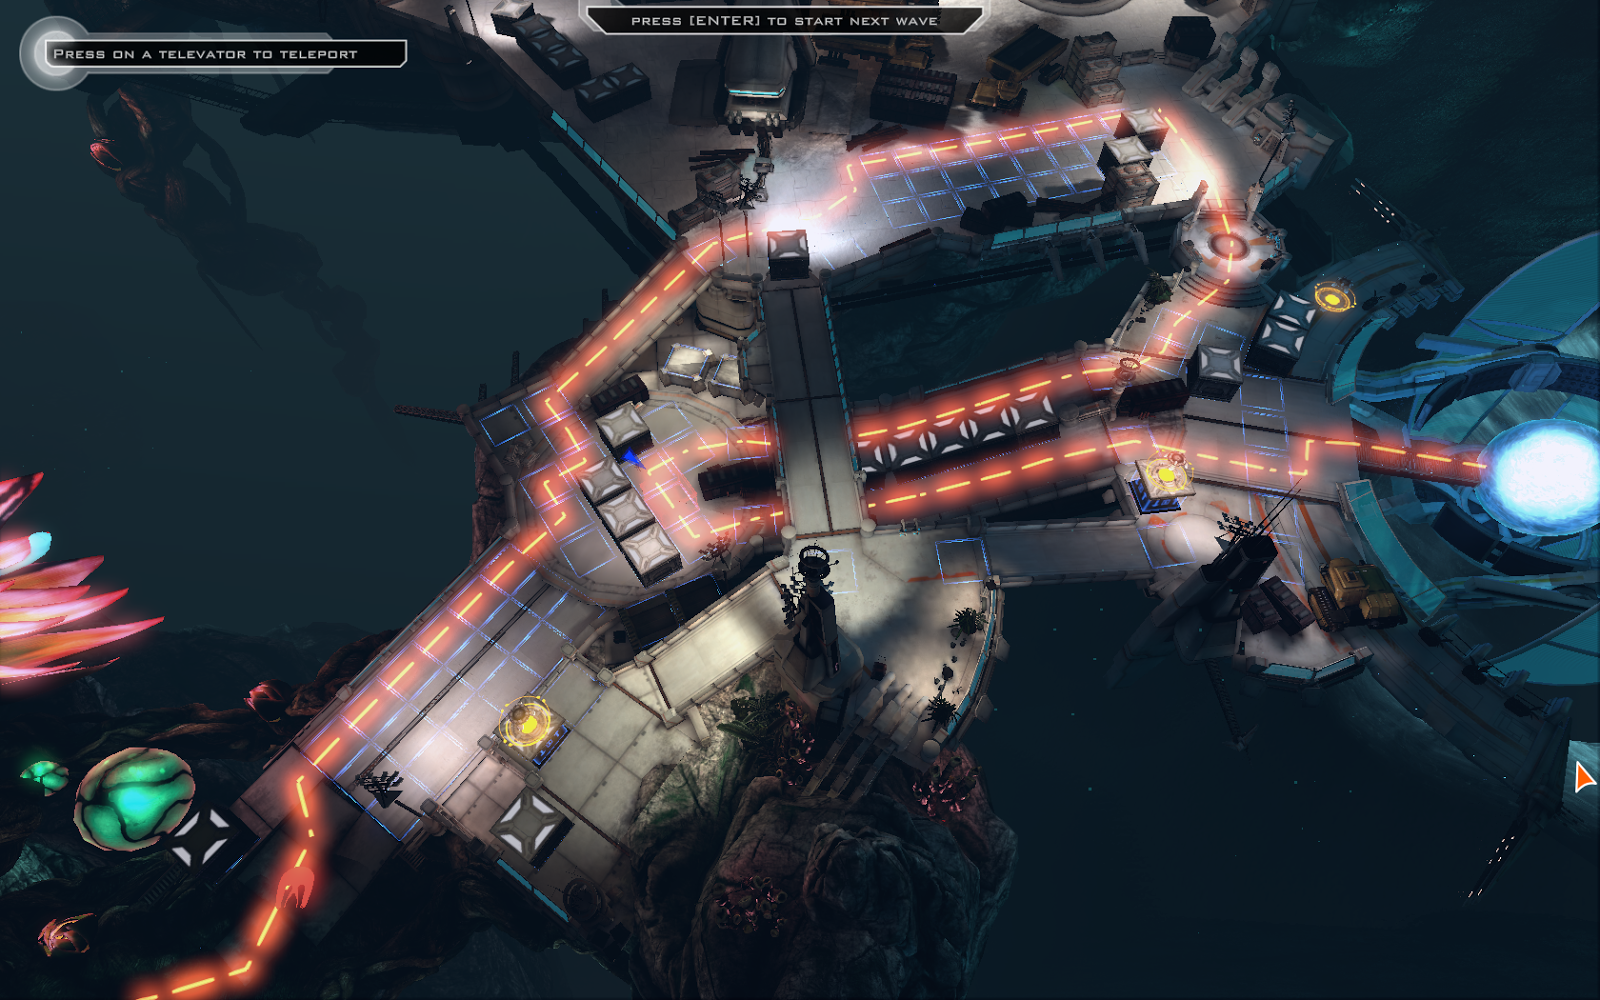 |
| Maps start out open, so building a winding path that circles back, allowing the same turrets to be reused, is generally a good idea. |
Towers come in
the fairly typical style of the TD genre. Fast, but weak Gatling or Laser
towers. Slower but high damaging and chainable Lighting Towers.
Mortars have great range but are slow firing and a bit inaccurate, somewhat
made up for by their splash damage. Anti-Air towers are useful for those levels
with flying critters. The Penetrator is capable of firing a shot that goes
through enemies, dealing damage to the ones behind the first target. The
Violator is a powerful, slow firing tower with good range that can hit targets
in the air or on the ground. The Accelator tower is another slow firing tower
that I never found any particular use for. Then there are modifying towers that
slow enemies down, such as the Slowfield for ground enemies or the Drone Tower
for airborne enemies, the Ampfield, which increases the damage of any target
standing on it, or the Holo tower, which increases the damage of any shot fired
through it. Or maybe you just want to use the Killing Floor, which is a
landmine that resets on it's own timer.
You are limited,
by map, to a set number of structures. However, the Televator and Block are two
that you must always have. The Televator is another special structure that
you’ll come to love. It has two functions – that of teleporter and elevator,
hence the name. At any time you can bring up the map and warp to any Televator,
which is perfect for staying ahead of a wave of enemies. The second function is
useful because it gets you up and out of the enemies’ level, and on top of your
blocks and towers. This is particularly nice because it helps increase the
damage you can do as a player.
 |
| Selecting the proper towers is of course key. The down side is how few you can bring. |
When you are
selecting which structures you would like to have the option of using at the
beginning of a level, you may also select which three weapons you’ll have
access to. There are six available in the game, and each has a secondary
function. The Assault is either a good all around weapon or a grenade launcher.
The Shotgun's secondary loads the barrel with several more rounds, allowing you
to deal massive burst damage. The Tesla either fires a low damage arc of
electricity or an electric ball that will penetrate a few enemies. The Rex is a
rocket launcher with homing capability. The Freeze can either drastically slow
a single enemy or a group. And the Sniper's secondary is it's zoom function.
While half the weapons have a clip (Sniper, Rex, and Shotgun), no weapon has an
ammo limit. Instead, each gun must recharge for a duration before you can use
it again. That's a little problematic for clip based guns, since you can't
force a reload during a slow period, unless you fire off the rest of your
rounds.
 |
| At the end of a level you can see how you did compared to your towers. I find it funny that while I spent 11% of my credits on my weapons, I accounted for 41% of the damage done. Talk about a return on your investment. |
During the build
phase both towers and weapons can be upgraded. While building new towers is
always nice, if you don't keep up your towers you'll struggle as you face more
and more powerful enemies. Both towers and weapons can be upgraded up to level
6, but getting there isn't cheap, because the cost of going up a level is
always double that of a previous level. So while it may only be 40 credits to
take your Lightning tower to level 2, by the time you hit level 6 it'll set you
back 640 credits, which can easily be more than you'll earn in a single wave.
Different towers have different build and upgrade costs, while all the weapons
I used seemed to start at 50 credits to upgrade, so you'll need to be judicious
in your upgrading. One feature that helps in determining what to upgrade is the
ability to see what the next few rounds of enemies will contain, allowing you
to focus on, say, Lasers to deal with fast or flying enemies, or Violators to
handle the behemoths that are coming. Don't under estimate the power of your
weapons either, because there are certain ones that your towers just won't be
able to handle on their own.
The enemies are
fairly varied, and each one is distinct looking enough in shape that you'll be
certain how to deal with it. There are the fast tiny guys that can bolt through
your maze before your turrets take them out. There are enemies that pick up
speed as they run in a straight line, requiring you to build twists and turns
into the pathing. There are enemies that soak up the damage, taking more as
they do, which actually favors fast firing weapons when fighting them. Then
there are enemies that go invulnerable if they take too much damage, allowing
them to pile up in an area, until they eventually make another mad dash for it.
There are standard no frills enemies that you'll encounter the most often,
though at times you'll also see the larger variant. Three other enemies have a
certain amount of invulnerability. One is shielded in the front, which tends to
be an issue if it's in the middle of a pack and not taking too many shots to
the back. Another is only vulnerable to headshots, but moves around so much
that that is a difficult proposition. The last enemy has a shield that can be
dropped if he receives a large amount of damage at once, but that shield will
come back up shortly. Additionally there are three flying enemies, including
slow moving floaters than come in huge packs, weak but fast enemies, and a
final one that can basically teleport about, making it a difficult target for
your anti-air tower. Each enemy requires a bit different approach, so you'll
need to plan accordingly when choosing what kinds of towers and weapons you
want to bring.
 |
| Generally only two types of enemies spawn per wave. Also, each enemy has a weak point, which you might want to keep in mind when you're aiming. |
Personally I
found that there is a careful balance to strike between tower and player
damage. This game certainly required, at least the way I played, a
substantially greater amount of player involvement that Dungeon Defenders,
which, depending on the class you played, could be all autopilot, or Orcs Must
Die!, which also skewed towards the towers doing the majority of the work.
Certain enemies, particularly the large ones, could generally make it through a
maze with little damage from towers, since they needed to be hit in the back or
could only be harmed by a headshot. At first flying enemies also gave me a bit
of trouble, particularly these slow moving floaters that would come in a big enough
wave that I just couldn't kill them all with a few air/ground combo towers,
such as Lasers. I also messed around with weapons like the Rex and Shotgun, and
found that, while they were interesting, nothing matched the power of an
upgraded sniper rifle.
While I figured
out what loadout I needed to succeed within the first three levels, at that
point I had made it through half of the base game. There are only 6 levels
total, with each taking about an hour to complete. The levels are different
enough, but overall the game lacks the robustness of some of the other
offerings in this genre. The game does have a multiplayer function, and I
suppose, depending on how the resources you use to upgrade weapons and towers
is altered by having more people present, that could make for a drastically
different game. Still, even if you stick to the single player like I did, you
can expect 6 hours of pretty good gameplay. I would look for the Sanctum
Bundle, which includes the base game plus two DLCs that add another 8 or so
levels, for $5-7.50. I can't actually vouch for the DLCs, so we'll just have to
take that on faith. Still, the unique feel of the levels and some of the better
mechanics, even if the base game is a bit short, make this game a very good 8
out of 10.
So, the final
breakdown:
Score: 8/10
Suggested Price:
$5-7.50
*****
For more Sanctum, check out this collection of screenshots otherwise unused in this review. Click any one for a full sized image.
.png)
.png)
.png)
.png)
.png)
.png)
.png)
.png)
.png)
.png)
.png)
.png)
.png)
.png)
.png)
.png)
.png)
No comments:
Post a Comment